 They are everywhere online. The humble animated gif from the 90’s Internet has returned with a vengeance. So how do you make them anyway? Well it is actually really easy. First, you need images and an image editor. I like to use Photoshop, but it is an expensive program. Luckily, the excellent open source GIMP is available for free. I will be using GIMP for this post.
First you have to find the images. You can draw them yourself, but for those of us who are less artistically inclined, you can lift them from youtube videos or DVDs. Here’s how:
- Queue the scene you want to use for your animation.
- Pause the scene and press the Print Screen button on the keyboard.
- Paste the image into GIMP or Photoshop. If you are using GIMP, you may have to right click the “floating selection” and select “To New Layer.”
- Press the play button on the video and immediately pause it again. If you do it right, it will move the play head only a few frames ahead.
- Repeat steps 2-4 until you have all the frames you want.
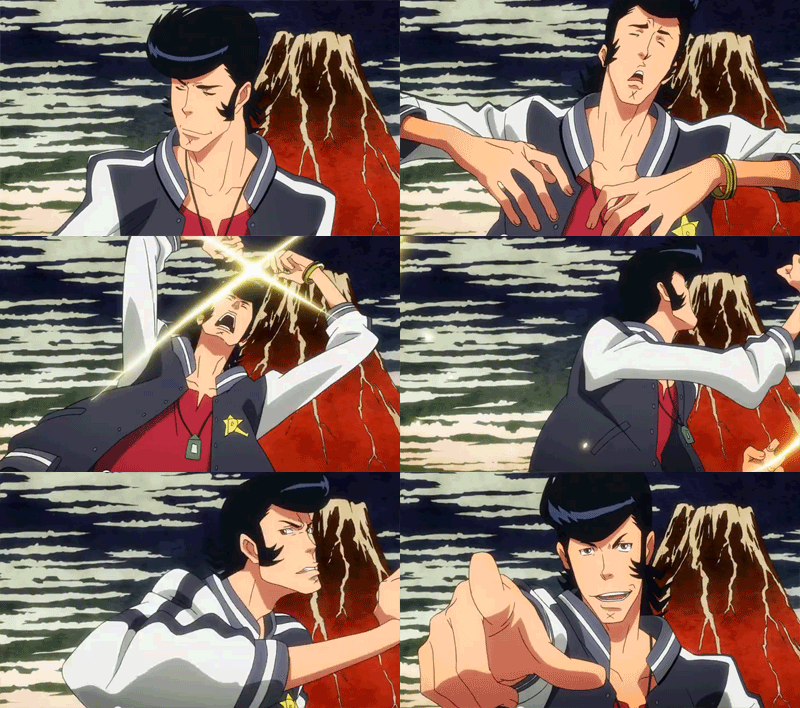
You can create a decent animation with only 4 images. The Space Dandy animation I will be making for this tutorial only uses 4 images.
Create a new image. It is best if the image size is identical to your screen size. That way, when you paste your screen shots, you won’t have to move the screen shot around.
Now crop all the images. If you have them aligned correctly and the images are on all different layers, you only need to crop once.
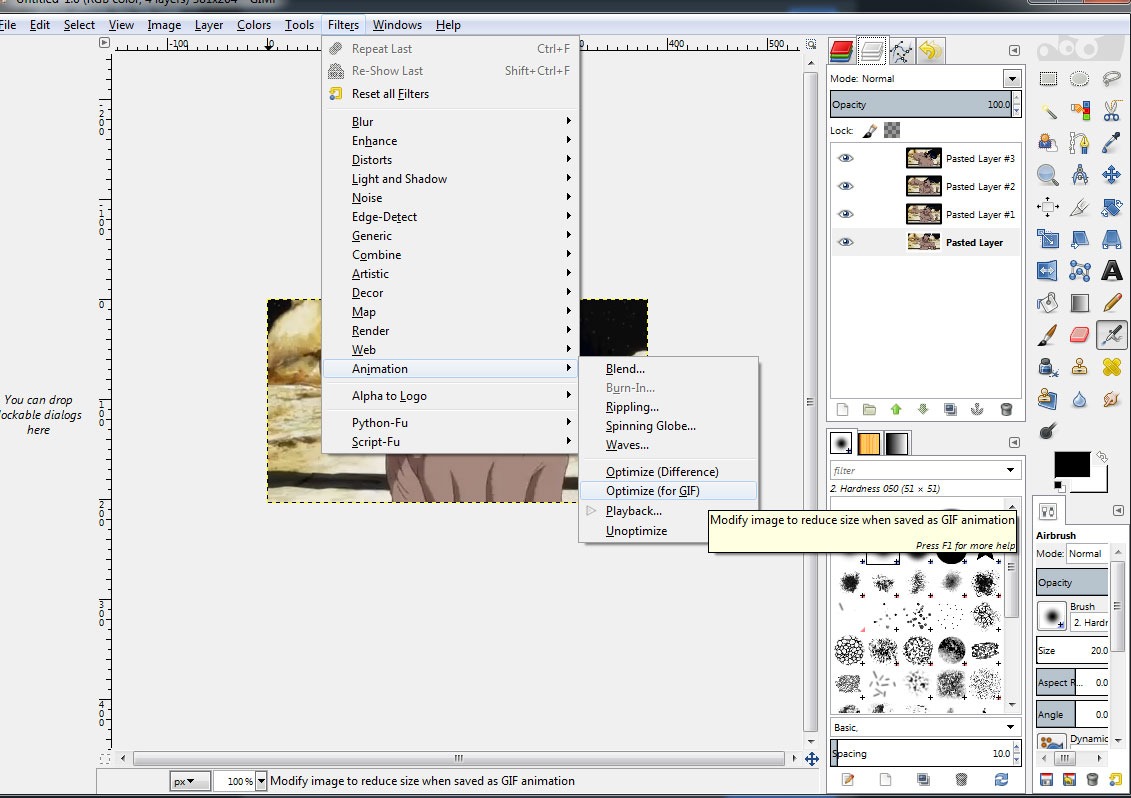
You can preview your animation by going to Filters > Animation > Playback.
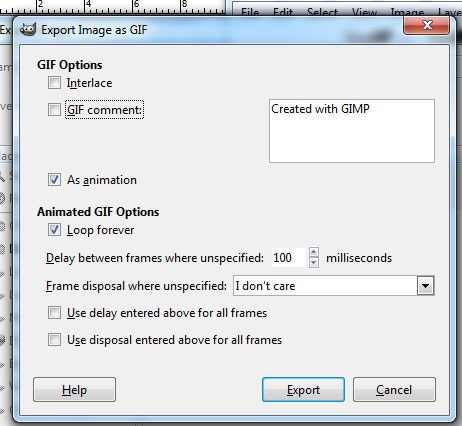
That’s all there is to it! The hardest part of making animated gifs is stopping the video at the right time for the animation sequence you want. It can take a few rewinds to get it right. Windows will not take a screen print unless the video is paused.
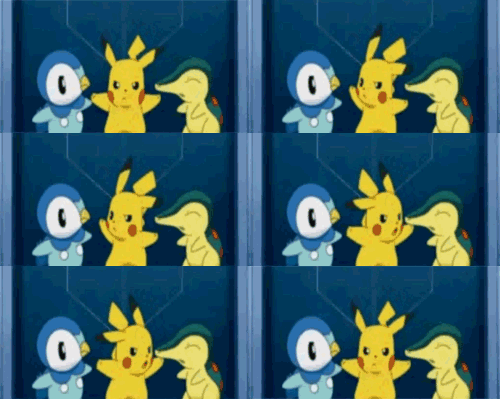
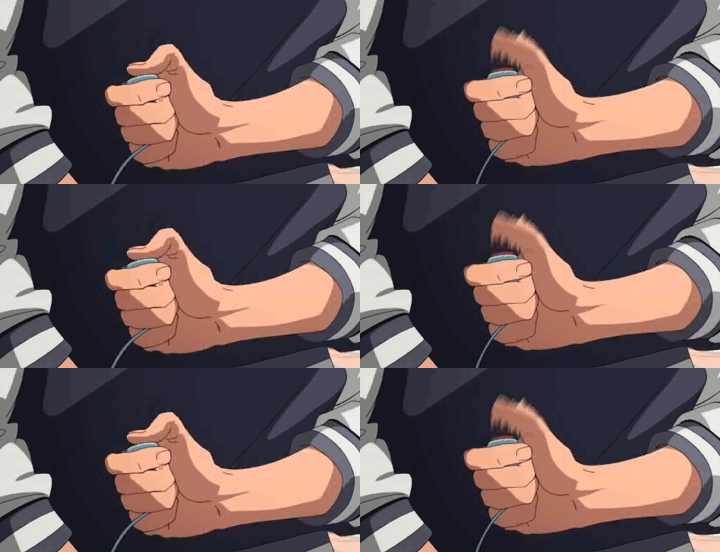
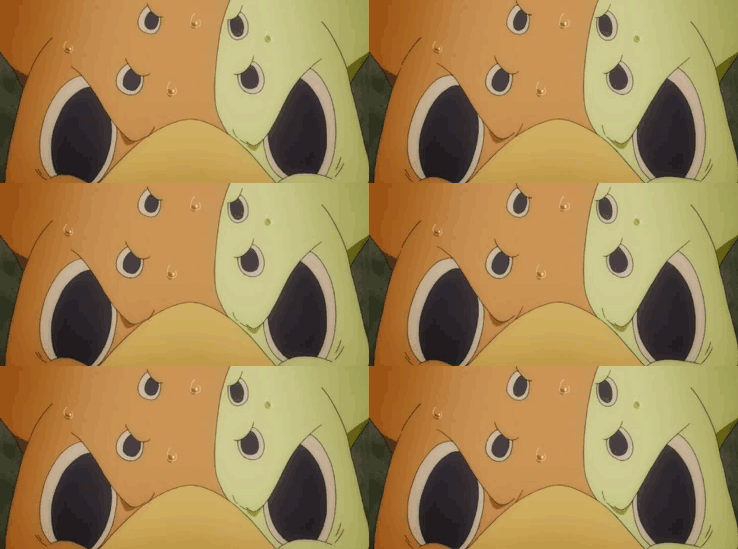
Here are the frames I used for the animated GIF I made. Feel free to use them for practice.
There are other ways to make animated GIFs. You can import video files and edit the frames. However, this method can become a headache if you have a large file. This copy and paste method works best for short scenes (which is what animated GIFs are all about!). It lets you control how fast the GIF loads. Most GIFs don’t need much more than 4 – 12 frames to look nice. Importing videos give you dozens of images to contend with. Although my method is annoying with youtube videos. It is easy to miss a frame with print screen. Also, sequencing entire sections of video can cause copyright problems.
Animated GIFs are good ways to spiff up a blog. They take a little practice but by your third GIF, you will have this technique mastered.
Happy giffing!
Other Tips
GIMP has a single window mode that is rather nice (Windows > Single Window Mode).
If you are using a video player like Windows Media Player, you can move ahead and back a single frame at at time by pressing the right or left arrow keys while the video is paused. This makes screen captures really easy.
GIFs are limited to 256 colors. The file format will also dither an image. Dithering makes the file size smaller, but it creates a dotted or checkered effect. Dithering can make an animation look choppy or like it has artifacts. It is best to keep images simple.
It doesn’t take many frames to make a nice animation. Sometimes just 4 frames are enough. The animated gif below uses only 4 frames.
Be careful of loops. If you want the animation to continue smoothly, the last frame and the first frame must be identical. One way of handling this is to reverse the frame sequence. If you have 4 frames, the third frame becomes the fifth frame, the second frame becomes the 6th frame, and so on. This will reverse the animation back to be beginning. Depending on what you are doing, this may not look very nice. The best animated GIFs are seamless loops. They are not choppy or jerk back to the beginning. This Space Dandy gif doesn’t follow this looping rule. If it did, it would look slower and less like Dandy is pummeling you.
Be careful of the size of the GIF. Because an animated GIF is a series of images, they can get large fast. A large GIF takes a while to load and looks choppy. It is best to keep GIFs small. I wouldn’t make a GIF much more than 500 pixels wide or tall.
Anime Memes
Memes are easier to make. Take a screen shot, set it against a black background (this is often optional), and a witty sentence or quote. GIMP is a good application for creating your own memes too. You don’t need to use meme generators when you have GIMP. Memes are another good way to spiff up your anime blog posts. Here are a couple of memes I made.
Memes and animated gifs are good ways to add interest to your blog posts. They are a bit of a fad in many ways, but fads are cyclical. Good memes and animated gifs can draw attention if they are unique and witty. Have fun with them!


